We encourage you to offer presets for your modules and bundles. Here is a quick guide on how to do that.
- Create your presets in Voltage Modular, setting appropriate names, tags, and categories. You will find your presets located here:
- Windows: %appdata%\Voltage\Presets\User Presets\
- Mac: ~/Library/Application Support/Voltage/Presets/User Presets/
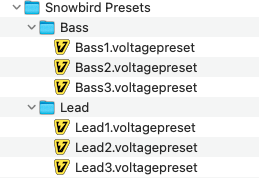
- Copy the preset files to their respective category folders and compress those category folders into a .zip file. For example, when a zip file named Snowbird Presets.zip is unzipped, the directory structure would appear as in the image below.
- Open Nebula in your Cherry Audio account, click on Products, and then click the + Create button.
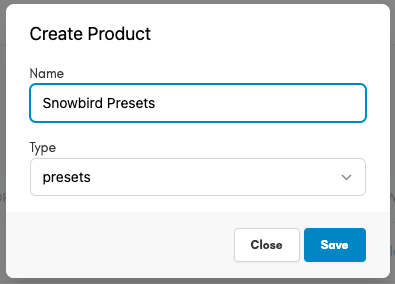
- Enter a name for your presets pack, set the type to presets, and click Save.
- Open the newly created preset product by clicking the eyeball icon on the far right of the product row.
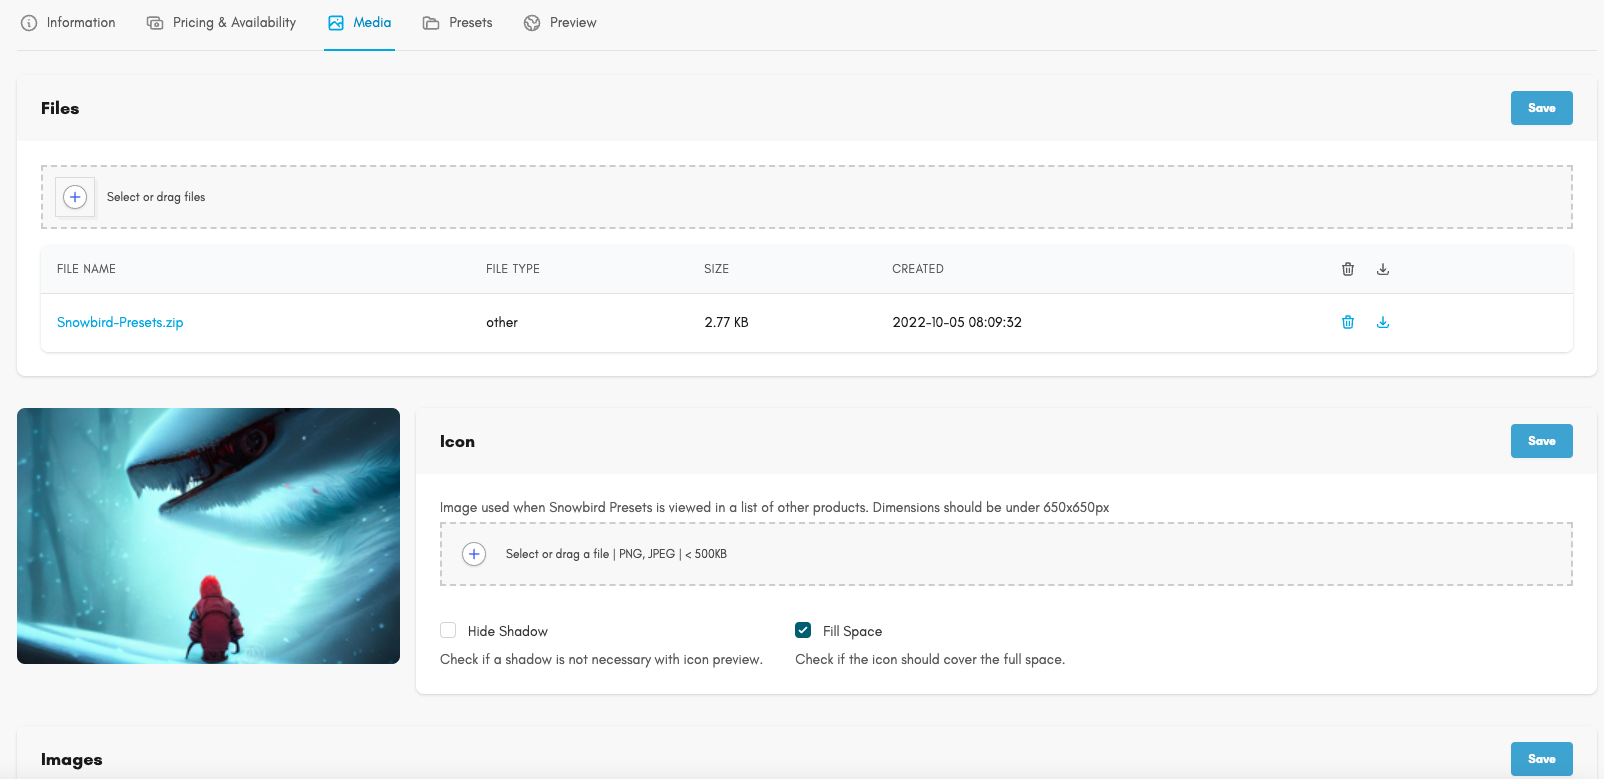
- Click on the Media tab, drag or select your .zip file to upload into the Files section, and then click Save.
- Add an icon in the Icon section following the same procedure as you did with the presets, but with an image that is PNG or JPEG, 500KB or less, and under 650x650 px.
- Add any additional details or assets to your presets that you want to be included.
- Open Voltage Modular and refresh your library. Your preset collection should now appear among the other collections in your library.
- When ready, submit your presets as you would a module.


Danny L
Comments